ASImageNode
ASImageNode is the Texture equivalent to UIImageView. The most basic difference is that images are decoded asynchronously by default. Of course, there are more advanced improvements as well such as GIF support and imageModificationBlocks.
Basic Usage
Using an image node works exactly like using an image view.
ASImageNode *imageNode = [[ASImageNode alloc] init];

imageNode.image = [UIImage imageNamed:@"someImage"];
imageNode.contentMode = UIViewContentModeScaleAspectFill;
Image transformations and effects
Many times, operations that would affect the appearance of an image you’re displaying are big sources of main thread work. Naturally, you want to move these to a background thread.
By assigning an imageModificationBlock to your imageNode, you can define a set of transformations that need to happen asynchronously to any image that gets set on the imageNode, including image effects such as rounding, adding borders, or other pattern overlays, without extraneous display calls.
You can read more about it at Image Modification Blocks.
Image Cropping
When an imageNode’s contentMode property is set to UIViewContentModeScaleAspectFill, it will automatically expand the image to fill the entire area of the imageNode, and crop any areas that go past the bounds due to scaling the image.
By default, the expanded image will be centered within the bounds of the view. Take the following cat image. His face gets cut off by default.
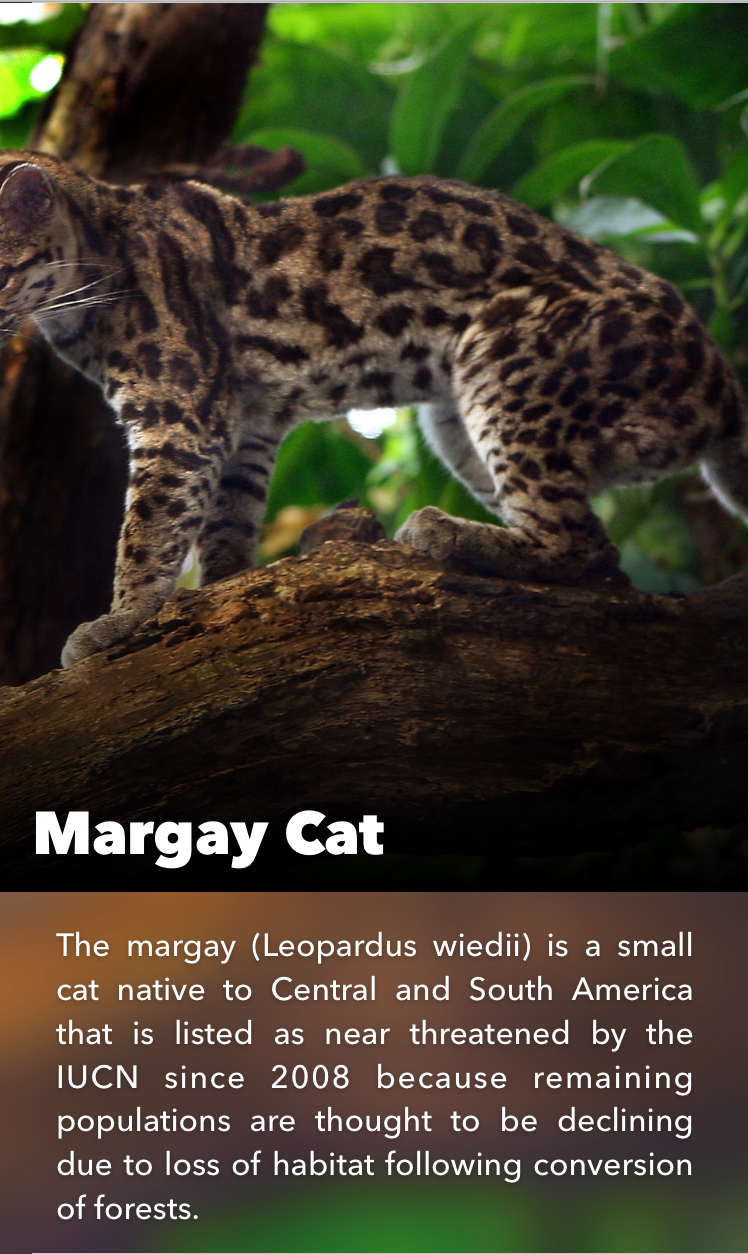
That’s messed up. To fix it, you can set the cropRect property to move the image over. By default it is set to CGRectMake(0.5, 0.5, 0.0, 0.0).
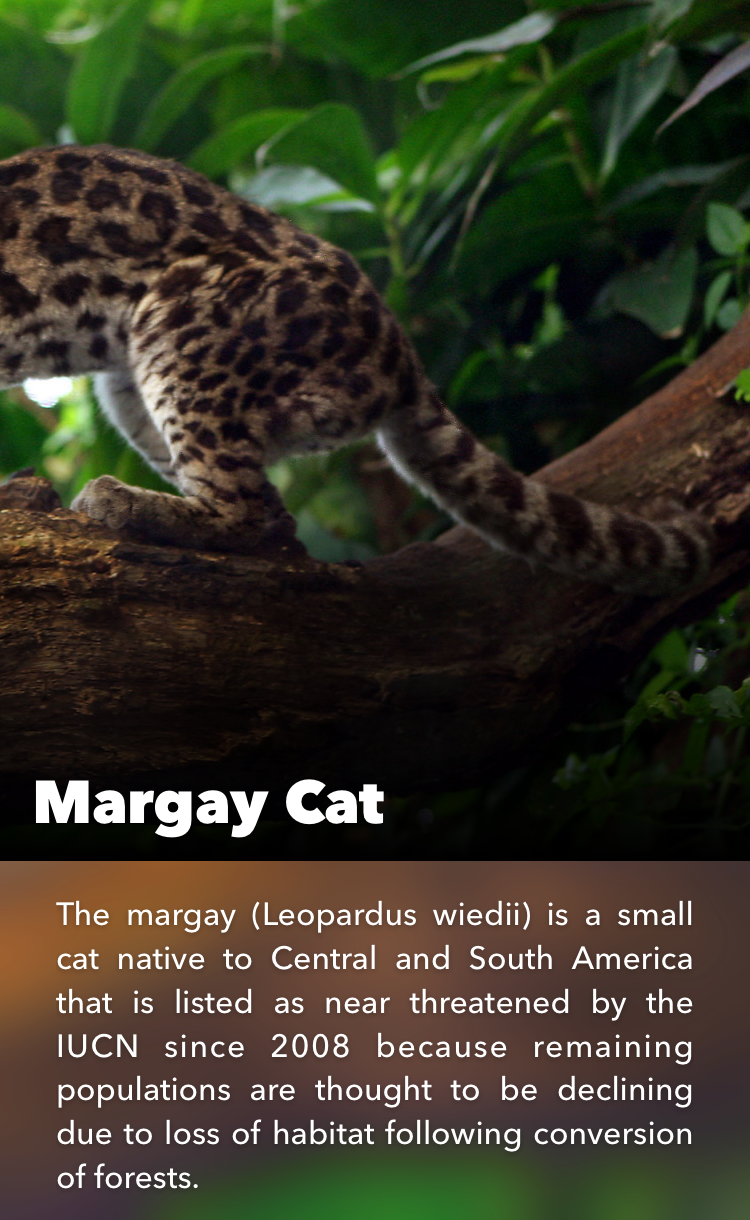
The rectangle is specified as a “unit rectangle,” using percentages of the source image’s width and height. To show the image starting at the left side, you can set the cropRect’s x value to be 0.0, meaning the image’s origin should start at {0, 0} as opposed to the default.
self.animalImageNode.cropRect = CGRectMake(0, 0, 0.0, 0.0);
Leaving the width and height values at 0.0 means the image won’t be stretched.

Alternatively, you can set the x value of the origin to 1.0 to right align the image.
Forced Upscaling
By default, an image won’t be upscaled on the CPU when it is too small to fit into the bounds of the imageNode it has been set on.
You can set forceUpscaling to YES if you’d like to change this fact. Doing so means your app will take up more memory any time you use an image that is smaller than its destination.
Detecting Image Scaling
By using the pixel scaling tool, you can easily check each image in your app to see how much it has been scaled up or down.
If images are too big, you risk rendering excessive amounts of image data, and when they’re too small you spend time upscaling a low quality image.
If you control your API, consider returning correctly scaled images so that this work can be avoided.